In the fast-paced world of cryptocurrency, security is paramount. Hardware wallets like Trezor® provide a robust solution for safeguarding your digital assets against hacking, malware, and phishing attacks. If you are new to Trezor® and want to understand how to start, this comprehensive guide offers a clear, structured approach to setting up your device and ensuring maximum security.
Trezor® is a leading hardware wallet designed to securely store private keys offline, away from potential online threats. Its user-friendly interface and advanced security features make it a popular choice for both beginners and seasoned crypto investors. The official platform for starting your journey is trezor.io/start, which provides all necessary resources to get you set up quickly and securely.
The first step is to acquire an authentic Trezor® device directly from the official website or authorized retailers. Options include the Trezor One and the Trezor Model T, each offering different features suited to various security needs. Purchasing from official sources ensures your device is genuine and free from tampering.
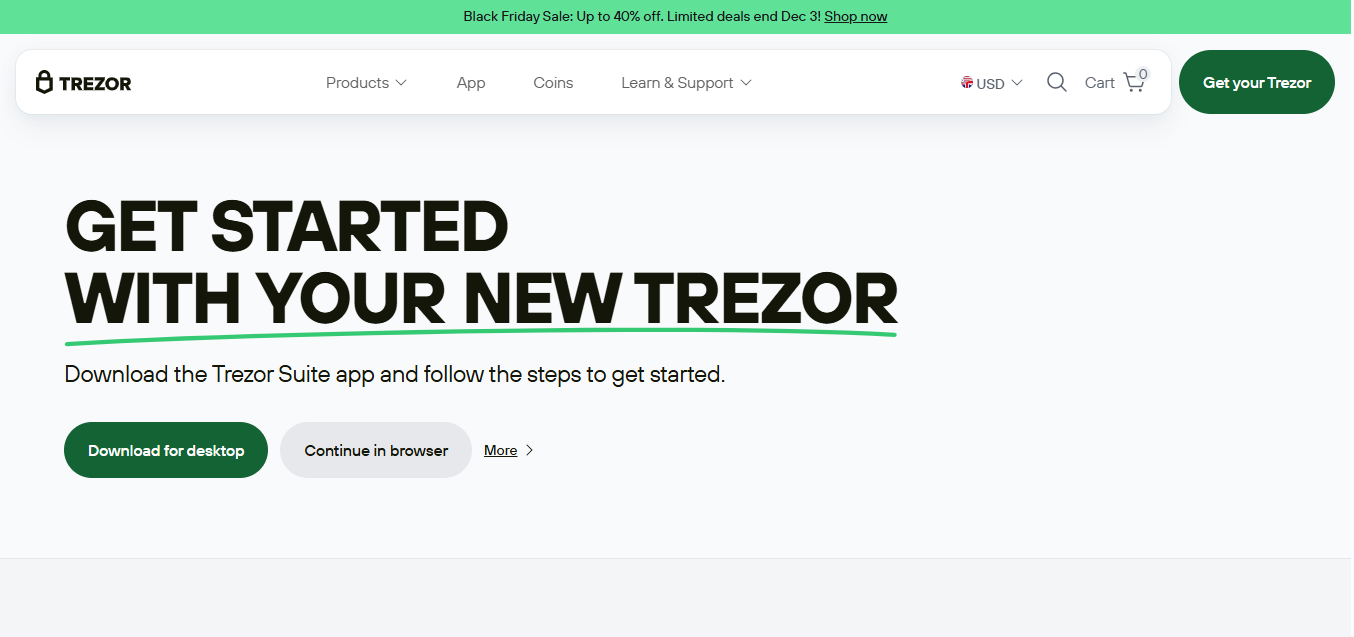
To interact with your Trezor® device, you'll need to download the official management software. Use the links provided on trezor.io/start to download Trezor Bridge or Trezor Suite. These tools facilitate device setup, firmware updates, and transaction management, providing a seamless user experience.
Using a USB cable, connect your Trezor® device to your computer or compatible mobile device. Follow the on-screen prompts to initialize your device. During this process, you'll create a new wallet and generate a recovery seed—a crucial 12, 18, or 24-word phrase. This seed acts as a master key to restore your assets if your device is lost or damaged.
Writing down your recovery seed on the provided recovery card is vital. Store this seed in a secure, offline location—never share it with anyone. Your seed is the ultimate backup for your wallet, so safeguarding it is essential to prevent unauthorized access or loss.
For enhanced protection, configure a PIN code and optional passphrase on your Trezor®. These additional layers of security prevent unauthorized access, even if someone physically obtains your device or seed. Use strong, unique PINs and avoid common patterns.
After completing setup, you can begin managing your digital assets via Trezor® supported wallets, such as Trezor Suite, MetaMask, or Exodus. You can send, receive, and monitor your cryptocurrencies securely, knowing your private keys remain offline at all times.
For detailed instructions, firmware updates, troubleshooting, and community support, visit the official Trezor® website at trezor.io. The platform offers comprehensive guides and customer support to help you make the most of your hardware wallet.
Starting your crypto security journey with Trezor® is straightforward with the official resources available at trezor.io/start. By following the outlined steps, you can confidently secure your digital assets and enjoy peace of mind knowing your cryptocurrencies are protected by one of the most trusted hardware wallets on the market. Remember, the key to security lies in safeguarding your recovery seed and maintaining good security practices at all times.